I finally convinced my best friend to let me put my craziness on her nails! I am so used to painting my own nails, it was actually very hard to paint someone else's - LOL! She escaped my clutches before I could get a picture of her Mani. You know how it is with girls, if she has something pretty, I want it also. So, I did a dup of my work to share with all of you.
 |
| Hibiscus nail art tutorial |
I used a technique I have come to love, where you blend polish colors directly on the stamping plate. So simple to do!

To get a good contrast, I picked cream polish for the base, and deep metallic polishes for stamping the design.
I recently got a few new plates. Born Pretty's BPL-029 has some of my new favorite detailed flower designs. This plate is great for reverse stamping. If you're not familiar, check out my Reverse Stamping Tutorial. I also used this method in my Peek-A-Boo Rose Nails. Let's get started...
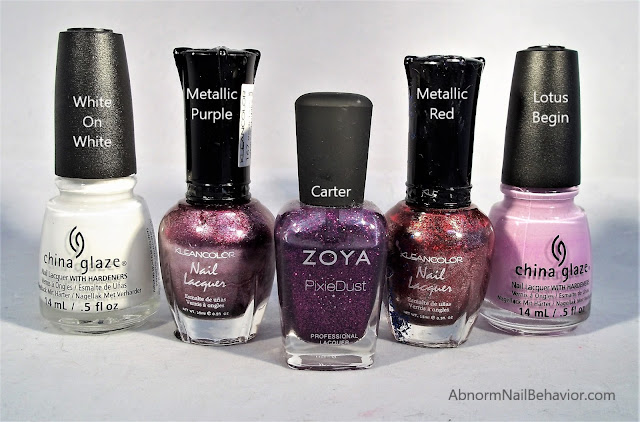
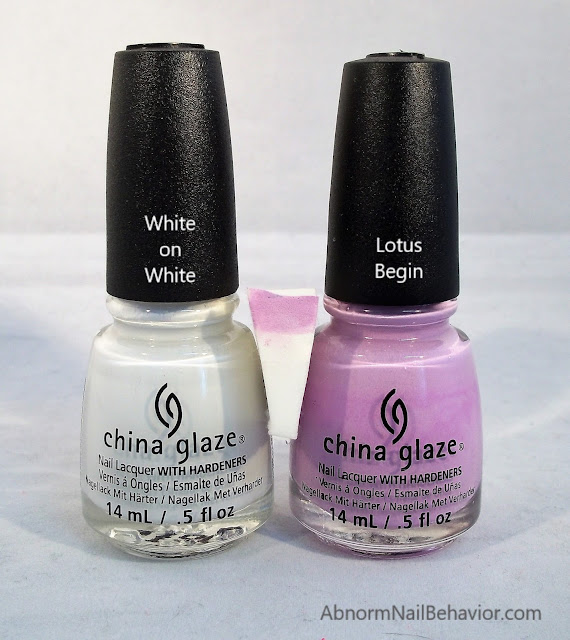
I started with two coats of China Glaze Lotus Begin. This polish is a little streaky, but the color is beautiful. The trick to a polish that streaks, is to use clear polish between coats. This tends to be the case with some matte creams and neons, but the added step of clear coat makes the polish even out for full coverage.
Once you have a dry base coat, its time to do the ombre. I use a makeup wedge. They come in packs of 100 for relatively cheap. You can cut them to use multiple times. I chose China Glaze White On White for my ombre. Paint a line of color on the edge of the sponge. Below that line, paint a line of the color you want to blend. It's good if they overlap a little. Do this for each nail.
The most important thing with a sponge gradient is to make sure that the polish on the sponge is wet so it doesn't stick. If you don't do this, the sponge will pull up polish and leave you with missing patches, and the second color will have hard lines on its border. Do this as many times as you like, until you have the blend you want. Let it dry between layers. I did two coats with the sponge. Seriously, you have to put wet polish on the sponge every time you do each nail.
I used Metallic Red and Metallic Purple as my stamping polish. Kleancolor is not marketed as stamping polish, but it is one of my favorite inexpensive polishes for stamping. It is very pigmented, and the micro glitter in the polish is beautiful. It drys quickly, and is really lovely as a base polish. I also use it to do metallic gradients.
 |
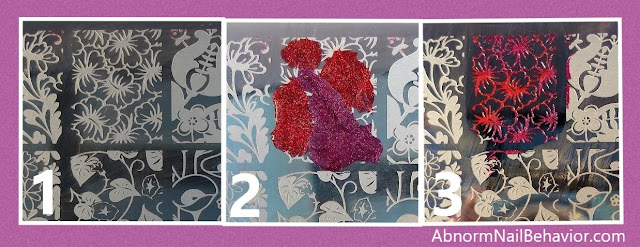
| The easiest way to blend colors, for nail stamping, is directly on the plate. |
I wanted the flowers to shift colors a little between the red and purple. This is easy. Just put globs of two polishes randomly on your stamping plate. Scrape off the excess as usual. Work quickly. I use an old plastic gift card because metal scrappers scratch. Really easy to do! This step adds dimension and shadows. It's just more interesting to look at. Each nail will be a little different from the rest.
Once you've add your stamping, pick a glitter for your accent nail. I used a Zoya Pixie Dust. Photos don't do it justice. This polish is a full coverage glitter in two coats. It's amazing in natural light.
Add top coat - I use Seche Vite, clean up your nails with an eyeliner brush dipped in Acetone, and done.
Tropical Hibiscus nail art that is bright, eye catching, and shimmery.


This is such a lovely nail design, really love the colours together! Just so pretty! Great job lovely :) take care, Chantelle x
ReplyDeletewww.chansbeautycorner.blogspot.co.uk
Thank you! I like your blog. Good variety.
DeleteHi there to every one, it's actually a nice for me to go to see this site,
ReplyDeleteit includes important Information.